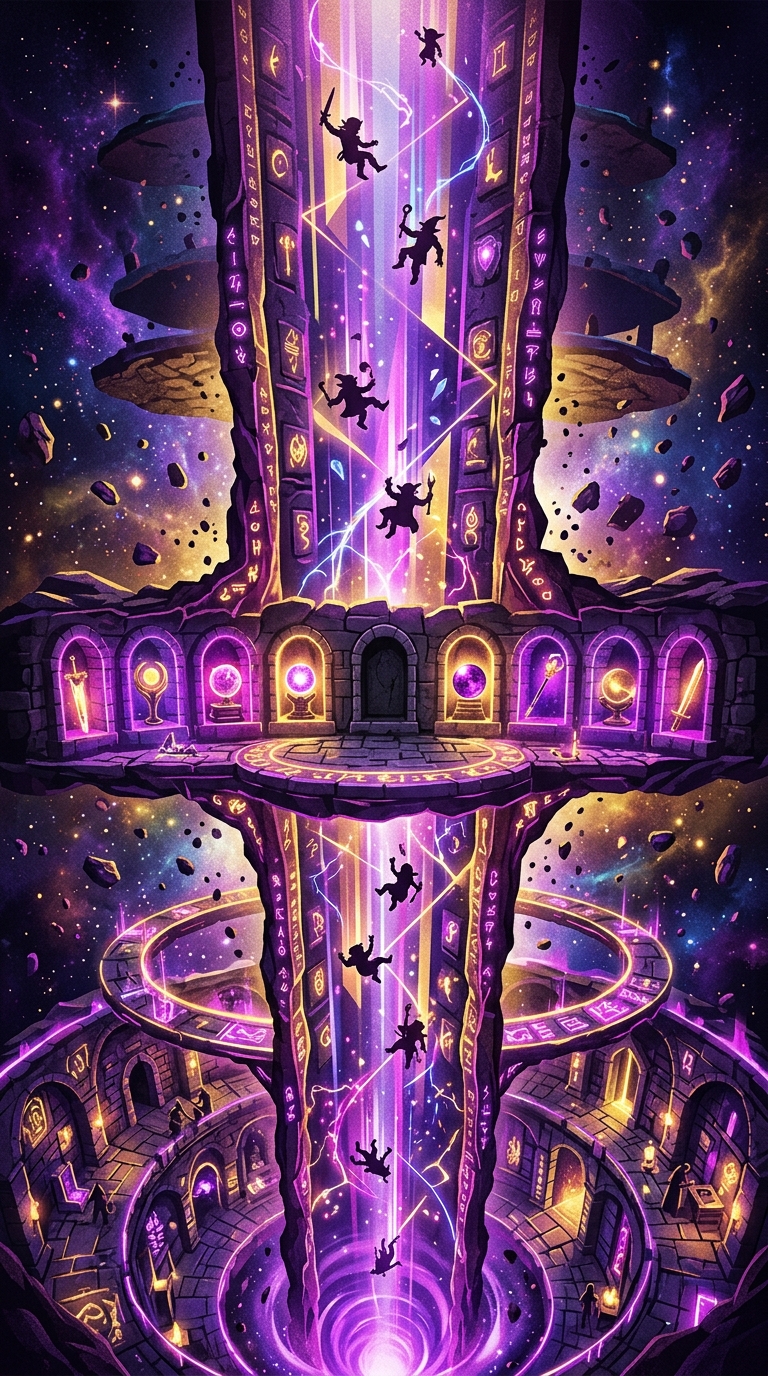
Star Dive mode does not forgive players who coast. The descending run structure punishes hesitation and rewards players who treat every floor as a transaction, not a warmup. This guide pulls from community tier lists, high-rank play patterns, and the daily task economy to give you a realistic picture of what it takes to push deep into Star Dive without burning through your roster or your patience.
Understanding the Dive Loop Before You Fall
The loop structure in Star Dive is deceptive. Each descending layer resets enemy aggression from a baseline, which sounds generous until you realize your Monsterlings carry every point of damage they took in the previous loop into the next one. A team that scraped through loop two at thirty percent health is not starting fresh. It is already behind when the new layer's enemies begin their routines, and the difficulty wall that lands around the third major layer transition has no sympathy for teams that spent loop one playing casually.
The single most transferable skill for new players is learning to read which floor you are actually on, not just which number the screen displays. The number tells you sequence. The floor's enemy composition, resource window, and spawn timing tell you where you are in the resource curve. Players who develop that reading early spend their healing items and artifacts at the right moments instead of hoarding until it is too late or panicking and burning everything before the real pressure arrives.
The core tension is always the same: spend now to stay healthy, or hold for the spike that is coming. Neither extreme works. Players who go deep are the ones who find the middle line and hold it across multiple loops. That middle line is not intuitive at first. It is built from watching a few runs fail and noticing exactly which floor killed them.
Building a Monsterling Roster That Actually Survives
Dive encounters are specifically designed to punish mono-role teams. A full damage lineup clears the first wave fast and then collapses the moment a sustained-damage floor shows up with no healer to absorb return pressure. Role diversity is not a suggestion in Star Dive the way it might be in open-world content. It is load-bearing. Pocket Gamer's beginner coverage calls this out directly, noting that stacking damage dealers is one of the most common early mistakes and that support characters like Francis, available as a free email reward, fit into almost any team without sacrificing a damage slot.
The practical anchor strategy endorsed by survival-focused tier lists is to build around at least one Monsterling with a passive shield or regen trigger, place that unit as the frontline target, and let your damage dealers work from protected positions behind it. That anchor becomes significantly stronger once you unlock the artifact slot that reduces shield-trigger cooldown. Before that unlock, the strategy still works. It just requires tighter positioning discipline.
Rerolling deserves serious attention here because artifact synergies scale multiplicatively with a Monsterling's base stat spread. A mediocre unit with perfect artifacts still underperforms a high-tier unit with average artifact coverage. Invest reroll attempts hunting units from the top two tiers of the survival-weighted tier list, not the general DPS list. Those are different documents with different priorities, and Star Dive content rewards the survival weighting heavily. GameWith maintains separate tier lists for each context, and the gap between them at the high end is not small.
Artifact Management and the Economy of Each Floor
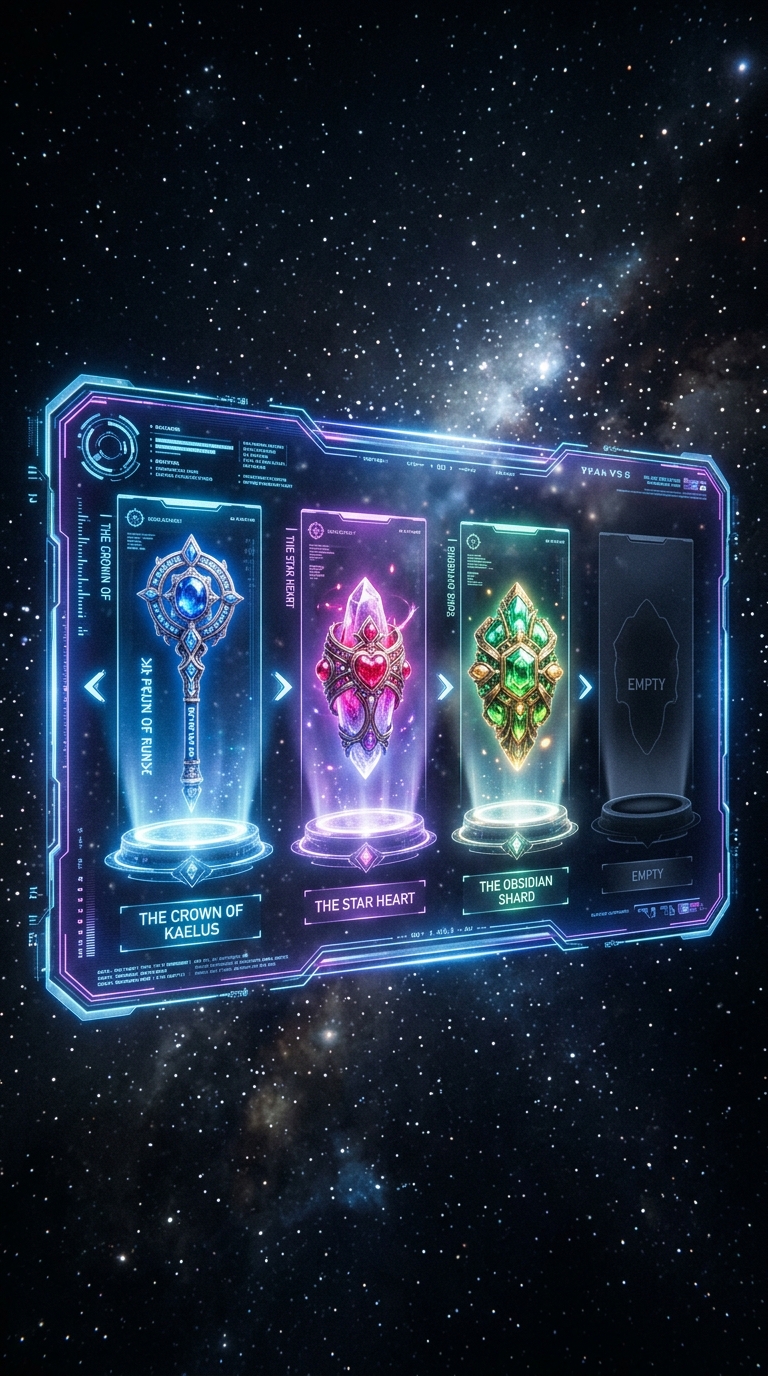
Artifacts in Star Dive are per-run economy decisions, not permanent loadout choices. Players who equip the highest-rarity artifact they find immediately often discover mid-dive that they burned the slot or the swap currency needed for a piece that would have completed a synergy they did not know the seed was offering. The floor pool shows you what is available. You need to see enough of it before committing to anything that forecloses a better option three floors down.
The high-rank community has largely settled on a hold-one-slot-open policy through the first two loops. One Monsterling's artifact slot stays empty deliberately until you have seen the complete artifact pool the current dive seed is generating. Then you fill that slot with whichever piece creates the strongest synergy with everything you have already committed to. It feels uncomfortable at first. It stops feeling uncomfortable once you watch it save a run that would otherwise have stalled at the loop-three transition.
Daily task completion is structural to this economy, not optional. Task rewards include artifact fragments that are otherwise only obtainable as rare floor drops. Players who work the task board consistently maintain meaningfully higher fragment reserves than those who treat it as filler. Pocket Gamer's guide flags dailies as one of the few non-negotiable habits for anyone trying to progress at a reasonable pace, and the artifact fragment income alone justifies that framing. Over the course of a serious Star Dive grind, the gap in fragment reserves is the difference between having what you need for a critical synergy and spending currency on a workaround.
Redeem codes distributed through official channels and community events feed pull currency into this same system. Players who redeem codes consistently may see meaningfully higher pull frequency over time, though the exact numbers vary by event and have not been formally documented. GameWith maintains an active code list and updates it alongside new banners. Checking it before each banner opens costs nothing and occasionally saves a run's worth of fragment grinding.
Reading Enemy Patterns and Knowing When to Retreat
Star Dive's encounter design rewards players who study enemy telegraphs rather than clear encounters as fast as possible. Enemies signal their attack patterns in the same short window every time they appear on a floor. Players who spend their first several runs studying those windows rather than aggressively clearing build a mental library of safe positions that makes high-pressure floors feel manageable. Pocket Gamer's beginner guide makes this point explicitly: understanding when to dodge and when to commit skills matters more than having an optimized team when the encounters start stacking complexity. Players who skip the study phase are always reacting instead of reading, and reacting at loop three costs more than it costs at loop one.
The retreat mechanic is consistently underused by new players, and it is one of the highest-value tools in the game. You can exit a floor before completing it and keep every resource collected on that floor. When your lowest-health Monsterling drops below roughly thirty percent during a wave that still has reinforcements pending, retreating is almost always correct. The floor can be re-entered at the same wave state. A knocked-out Monsterling imposes a run-wide stat penalty that compounds across every subsequent floor, and that penalty costs far more than the minor progress lost by retreating early.
Veteran players also track which enemy types appear as pairs versus which are always solo encounters. Paired appearances almost always signal a floor designed around area-of-effect denial rather than single-target burst. Walking a burst-optimized team into an area-denial floor is one of the most common reasons a run that looked clean on paper collapses before the loop transition. Know what the pairing means before you commit your formation, and keep one eye on your retreat window from the first wave rather than waiting until the damage is already done.
Gacha Pacing and Long-Term Progression Without Burning Out
The gacha banner cycle runs on a schedule the event list tracks openly, and that schedule matters specifically for Star Dive because new character banners tend to introduce units whose kits are tuned to address the demands of recent high-difficulty dive content. Pulling blind outside that cycle frequently means acquiring units who perform well in general content but bring nothing uniquely useful to the dive meta you are currently grinding. The banner timing is not accidental. Use it as information. GameWith's banner tracking and GameWith's tier list are most useful when read together, since the tier list notes which units were introduced alongside which content updates.
The healthiest long-term approach is to set a personal floor target, a specific dive depth you want to reliably clear, and pull only on banners that introduce characters whose kits directly address the obstacle stopping you from reaching that floor. Pulling on every banner that features an attractive unit leaves your dive roster perpetually incomplete in the specific roles the current content actually demands. Attractive units in the wrong roles do not solve dive problems. They fill slots that needed something else, and filling those slots makes it harder to see what you are actually missing.
This is skeptically optimistic advice, which is the only kind worth giving about gacha systems. The structure is designed to pull you off your target. Knowing the structure does not make you immune to it. But naming your floor target before you open the banner screen gives you at least one clear question to answer before you spend, and that one question catches more impulsive pulls than any self-imposed spending cap will. Pick a floor. Pull for the role that floor is punishing you on. Check the code list before you open the banner. Then close the game and run the floor again before you decide anything costs real money.

Priya Nambiar covers competitive gaming and emerging esports ecosystems for GoAndGame, with a particular focus on Southeast Asian scenes and grassroots tournament culture. She came up through community forums before moving into sports journalism, and that background shapes everything she writes.