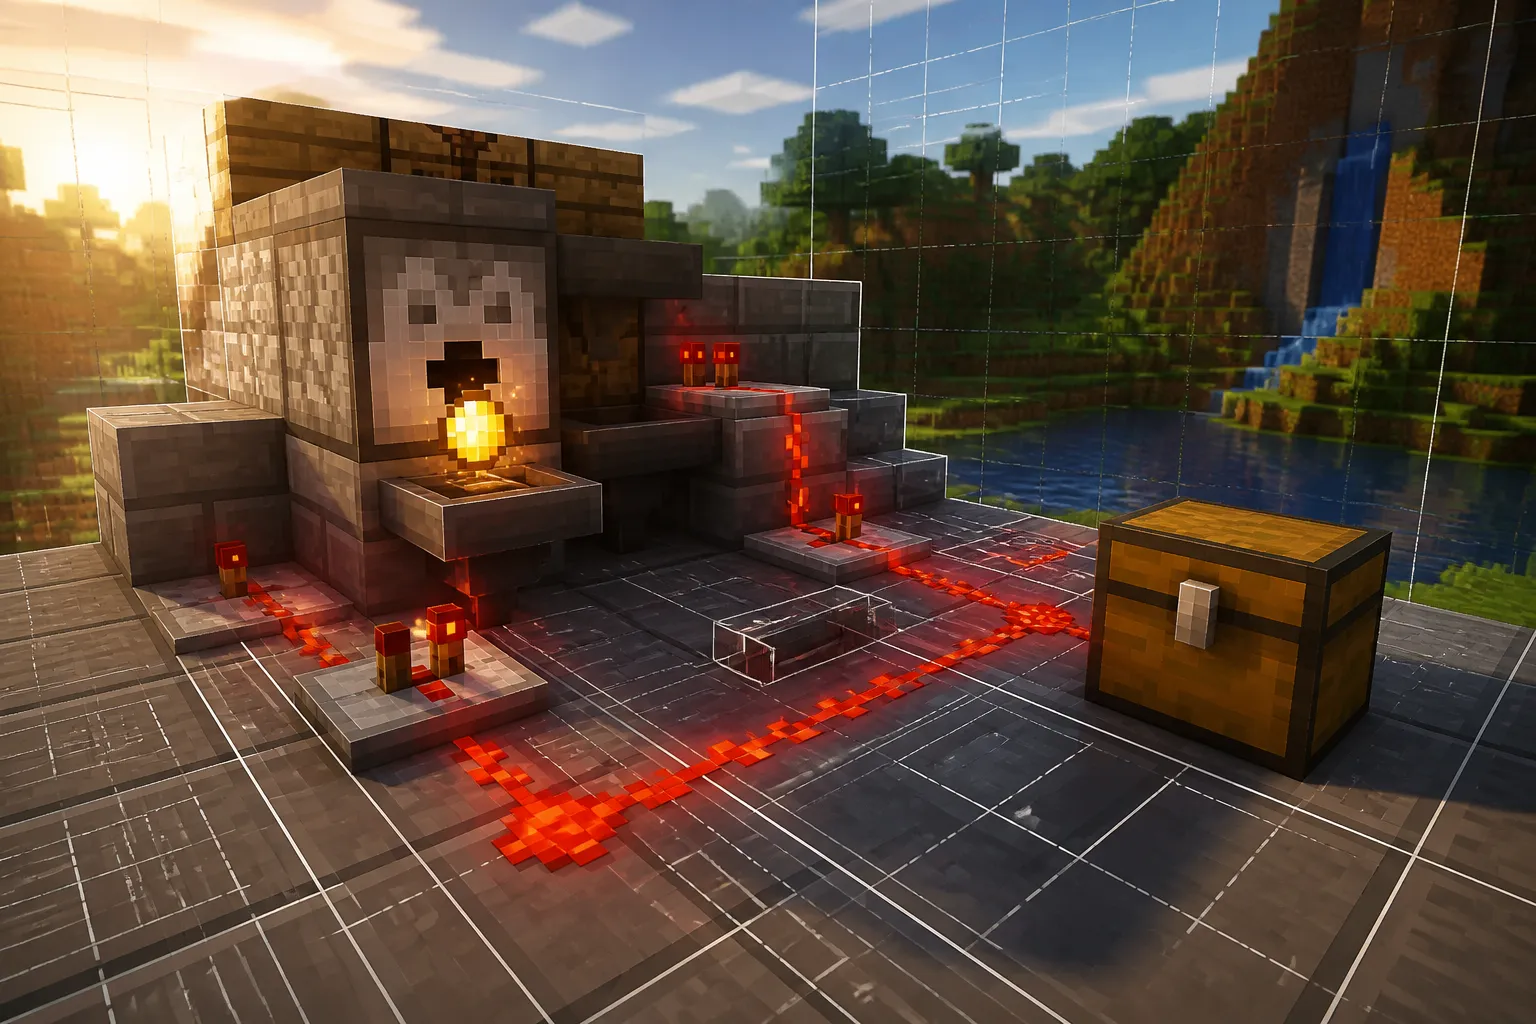
The Crafter makes a compact automatic crafting station possible, but the block is only one part of the build. Added in Minecraft 1.21, it has a familiar 3x3 grid and crafts when it receives redstone power. To make a useful station, you also need a way to supply ingredients and somewhere for the result to go. Start with those jobs visible and easy to test. You can hide the wiring and shorten the feed path once you know each part works.
Begin with the Crafter and its output
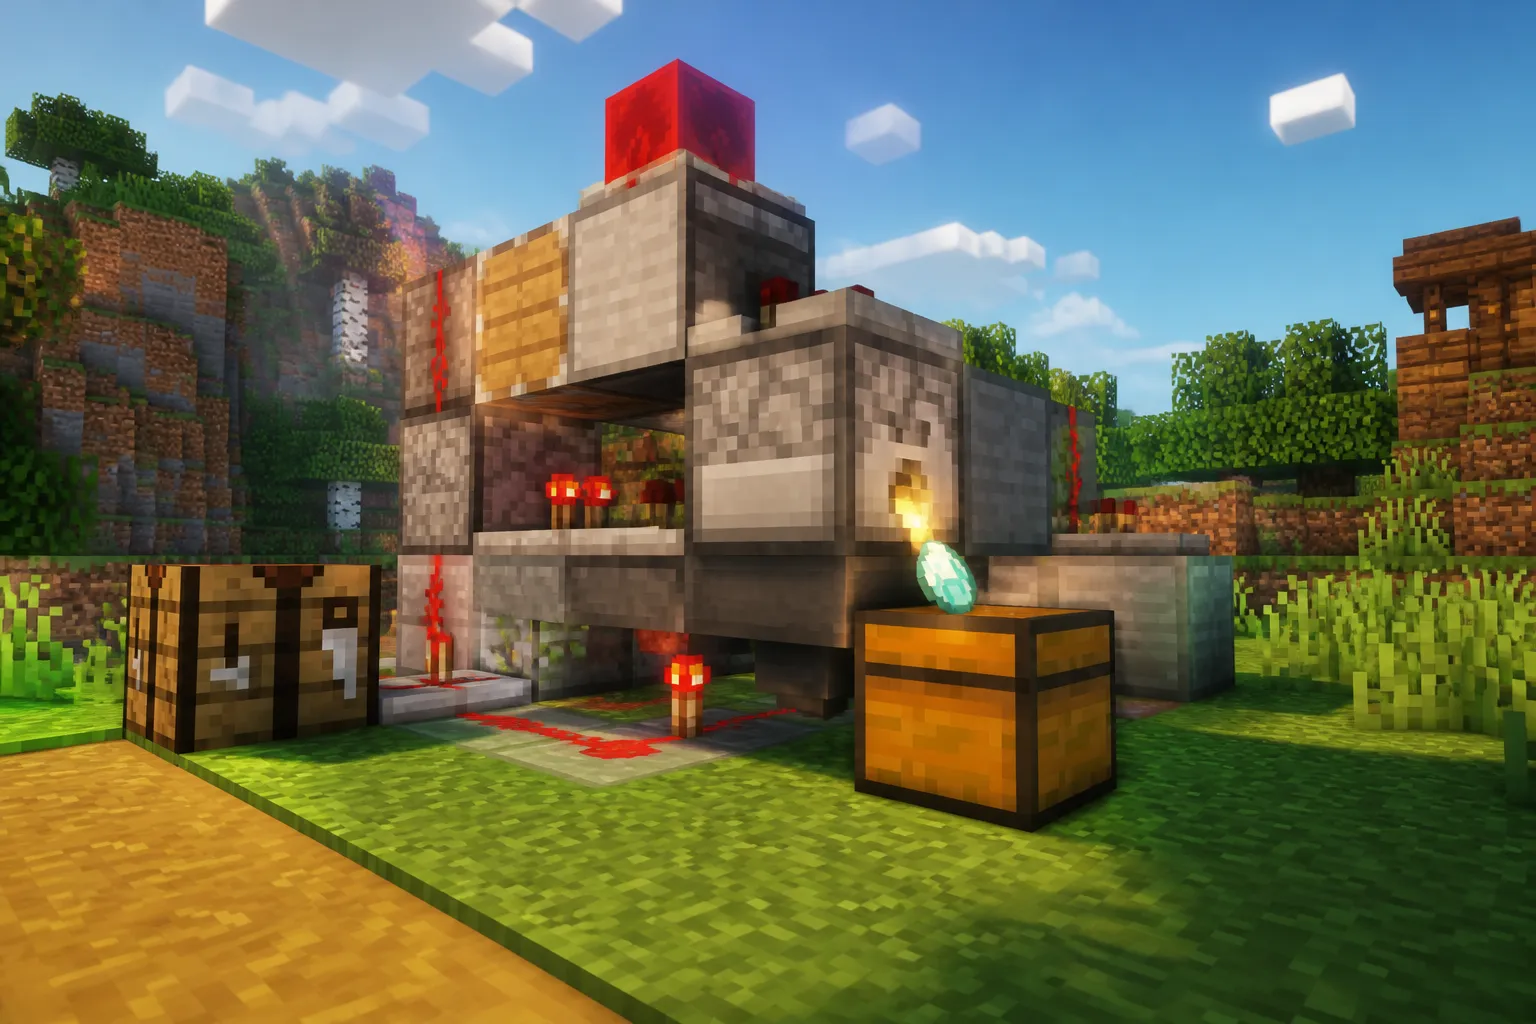
Place the Crafter where you can reach its interface and see what happens when it crafts. The Godlike guide to the Crafter says a finished item can drop from the block or pass directly into an adjacent container. Put a container beside it, then check where the first completed item actually goes. If the item drops instead, adjust the container before adding a long input line. A result you cannot collect is easy to miss once the build is enclosed.
Leave a little room around the block for the first test. You need to inspect the grid, reach the power source and watch the output. A compact build is easier to plan after you have seen one successful craft. At this stage, an exposed Crafter and a nearby container tell you more than a finished-looking wall of blocks.
Make the grid match one recipe
Open the Crafter and choose a single item to make. Lay out its recipe in the 3x3 grid before connecting any feeder. According to the Godlike guide, clicking an empty slot toggles that slot on or off. A disabled slot will not accept items. Disable positions the recipe does not use, then check the pattern again. One misplaced active slot can make a feeding test hard to interpret.
The guide also describes a separate slot lock. It says a locked slot is protected from external devices such as hoppers and droppers, and that locked slots are ignored by the crafting recipe. Do not lock a position that your chosen recipe needs. If you are unsure which control you have used, pause the build and test that position with one ingredient. The aim is to know which cells can receive items before several ingredients start arriving.
Keep the recipe simple for the first run. The available sources do not identify a best recipe for automation, so pick one whose ingredients and finished item you can recognize at a glance. Write down the intended grid pattern or take a screenshot. That gives you something specific to compare against the Crafter’s contents if the test stops producing items.
Test the feed before hiding it
The Godlike guide says external hoppers and droppers can fill and empty the Crafter, but the available text stops before it explains an exact chain or placement. Treat the input path as a test, not a copied blueprint. Add one feeder, supply a small number of ingredients and inspect the grid. Confirm that the items reach the positions your recipe needs before extending the path or enclosing it.
If an ingredient does not arrive, separate the possible problems. Check that the feeder has the item, that the intended slot is active and that the item reaches the Crafter at all. If an unwanted item appears, remove it and check the grid controls before running another batch. Changing one part at a time makes the cause easier to find. A dozen-item test with everything connected may produce a fuller chest, but it gives you less information when the pattern is wrong.
Keep the output visible during this stage too. Watch both the adjacent container and the space around the Crafter. That will tell you if a successful craft is being collected or dropped. Do not count an empty input feeder as proof that the station has made the item you wanted.
Add a signal you can control
The Crafter needs redstone power to craft. For an initial check, use a signal you can operate while watching the block, such as one from a lever. Put the correct ingredients in the grid, activate the signal and look for a finished item. If nothing appears, inspect the recipe and slot settings before building a more elaborate circuit. Repeat the check with a fresh set of ingredients so you can tell what each activation does in your game.
A button or a timed circuit may be useful for a later automatic run, but neither source supplies a tested compact circuit or timing instructions. Build that part in a test world and verify it against your chosen recipe. In particular, observe what happens when ingredients arrive slowly: the signal should not become a substitute for checking that the grid holds the right pattern. Keep the power line exposed until repeated runs produce the expected item.
- Set one recipe and disable its unused slots.
- Check that the feeder reaches the needed grid positions.
- Place an adjacent container and watch for dropped output.
- Test a controllable redstone signal before adding a circuit.
Make the working version smaller
Once several runs succeed, shorten the station one piece at a time. Move a feeder closer, reroute part of the power line or bring the collection container nearer, then run the same recipe again. Keep the change only if ingredients still enter the correct slots and the finished item still reaches the intended destination. This is slower than building a tiny shell first, but it leaves you with a clear reason for every block that remains.
The sources do not provide a verified footprint, a hopper and dropper layout, or guidance on differences between editions and versions after 1.21. Record the version you tested and keep your working arrangement intact while trying smaller variations. If a later edit causes a misfeed, you can return to the last layout that completed several crafts.

Before closing the station in, run one final batch while you can still see the grid and collection point. Count the finished items in the container and check the ground beside the Crafter. Those two observations tell you if your compact arrangement is doing the job you built it to do.
Sources

Eliot Reed writes about the intricacies of virtual worlds, blending analysis with storytelling. As a house writer for GoAndGame, he delves deep into game mechanics and narratives, offering thought-provoking insights for players and developers alike.