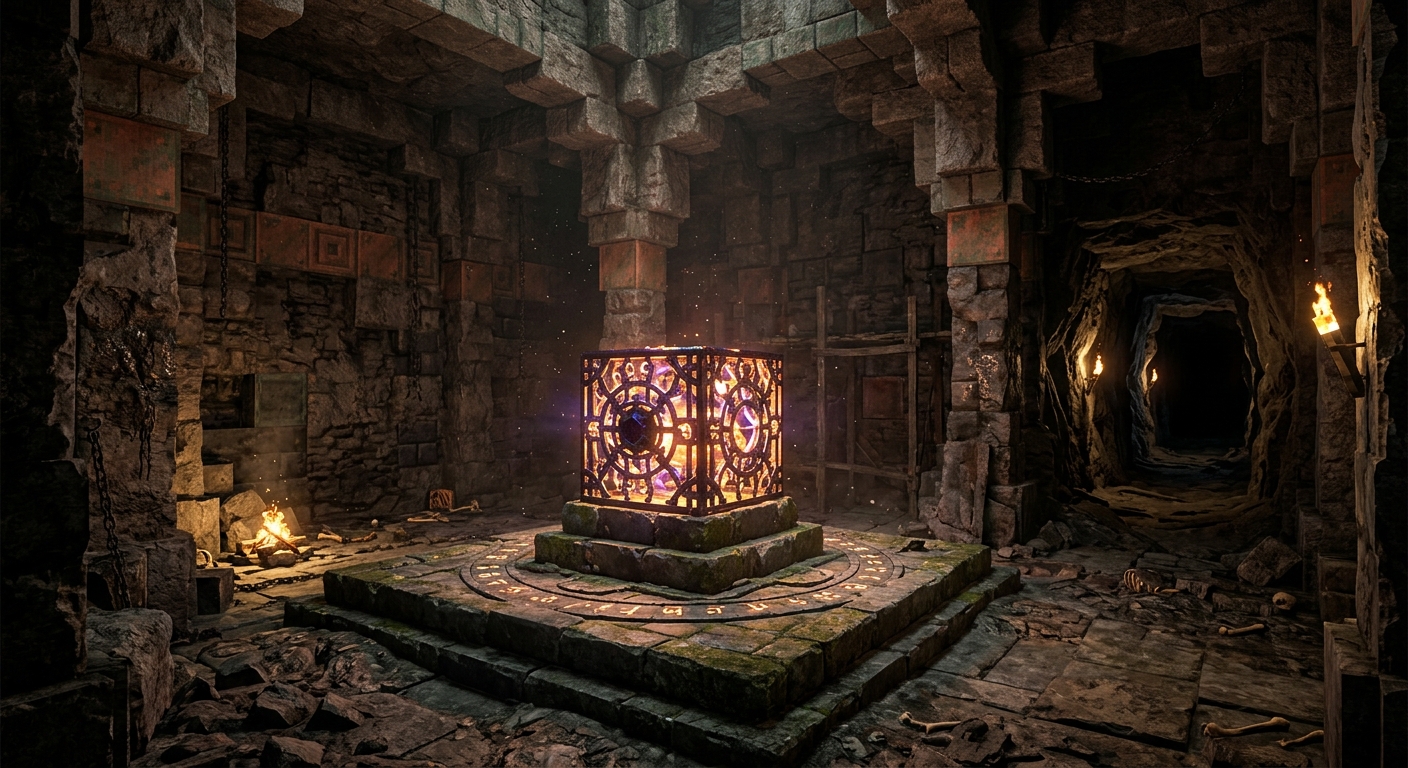
Deep underground, the stone gives way to tuff and copper. A corridor opens into a room with a cage-like block at its center. The block lights up when you approach, and the room begins to fill with enemies. Finding a trial chamber in Minecraft is only the first challenge. Getting out with its rewards takes a plan for the fights and a careful search of the halls between them.
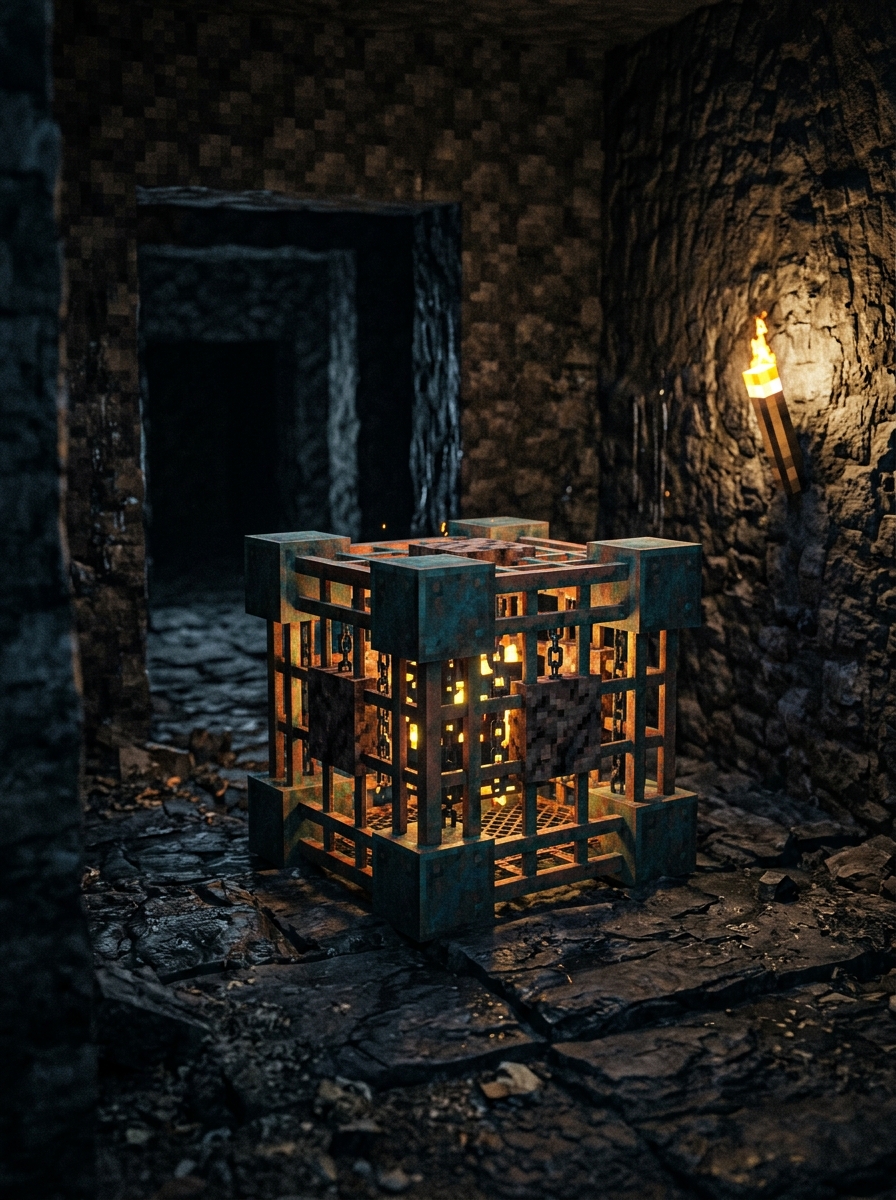
Trial chambers generate in the Overworld’s deepslate layer, well below the caves most players explore on an ordinary mining trip. There may be no grand entrance. You can break through a wall into a side passage and discover that the rooms continue beyond it.
If you want to find one without commands, mine through the deep layers and watch for worked tuff and copper rather than waiting for a chamber to open onto a cave. Bring torches and mark your route back. If blind digging sounds miserable, a structure-locating command or seed map can shorten the search.
First contact rarely tells you how large the place is. The Minecraft Wiki’s trial chamber guide describes branching layouts, so an apparently small cluster of rooms may be one wing of a larger structure. Leave a marker where you entered before following the next corridor.
Pack for a fight you cannot skip
A trial spawner activates when players come near it and releases a limited series of mobs. The vaults deeper inside need keys earned from these encounters. Come down with good armor, a dependable weapon, a shield, and more food than a short cave trip would require. A bow helps when a skeleton occupies the far side of a room, but the shield is what gives you time to cross that room safely.
Keep blocks on the hotbar for a quick barrier, and carry a water bucket for awkward drops. Torches make routes easier to read, but ordinary lighting will not switch off a trial spawner. Save some inventory space, too. A key is little use if you have to abandon everything else to carry it.
Make the room work for you
When a spawner wakes, step back and find a doorway, corner, or narrow passage. Standing beside the block leaves you exposed as new mobs appear. Pulling them toward a corridor can keep several attackers from reaching you at once. Watch the room as well as the enemies: a breeze can knock you out of position just when you thought you had found safe footing.
Trial spawners account for the number of nearby players, so a group faces more enemies than a solo visitor. Friends still have the advantage of being able to cover one another. Alone, patience matters more. Clear a wave, eat, check the next opening, and resist the urge to sprint into an unexplored branch while the current room is active.
Once its encounter ends, a spawner ejects rewards and enters a cooldown. Check what it dropped before moving on. Trial keys are not guaranteed from every spawner, so you may need to clear several rooms before you can open every vault you find. TheGamer’s chamber walkthrough is a useful companion if you want a closer look at the spawner and vault mechanics before heading underground.
Decide when to make it ominous
The harder version of a chamber fight starts with an ominous bottle. Drink one to gain Bad Omen, then approach a trial spawner; the effect becomes Trial Omen and can turn nearby spawners ominous. Their encounters are tougher and can bring extra hazards, but they offer access to ominous trial keys and the chamber’s higher-tier vault rewards.
That makes an ominous run a deliberate second step, not something you need for your first clear. Learn where the corridors lead and which rooms give you space to retreat. Then decide if you want to return with the effect active. In a maze of similar-looking copper halls, knowing the way back to cover can matter as much as another piece of enchanted gear.
Spend your keys, then search again
A standard trial key opens a standard vault; an ominous trial key opens an ominous vault. Each player can open a particular vault once, so companions should keep track of their own keys rather than assuming one person’s unlock covers the group. Look into side rooms before leaving. A vault passed on the way in can be easy to forget after several fights.
Clearing the active rooms does not erase the chamber. Spawners can become available again after their cooldown, while vault access remains limited for each player. Carry out the loot you came for, leave yourself a marked path to the surface, and keep any spare keys for vaults you have not opened.
The way out
A cleared chamber has a different rhythm from the descent into it. The rooms are quiet, the route is marked, and you can check each branch without a fight interrupting you. That measured, room-by-room progress has something in common with the discrete stages of Segment Storm or Star Dive. Underground, though, the final stage is practical: find the passage you marked, count the keys in your inventory, and climb back into daylight.
Sources

Alexandra Rivet explores the intricate interplay of games and culture for GoAndGame. A passionate storyteller, she delves into narratives with depth and curiosity. Her pieces often highlight the stories behind the pixels.