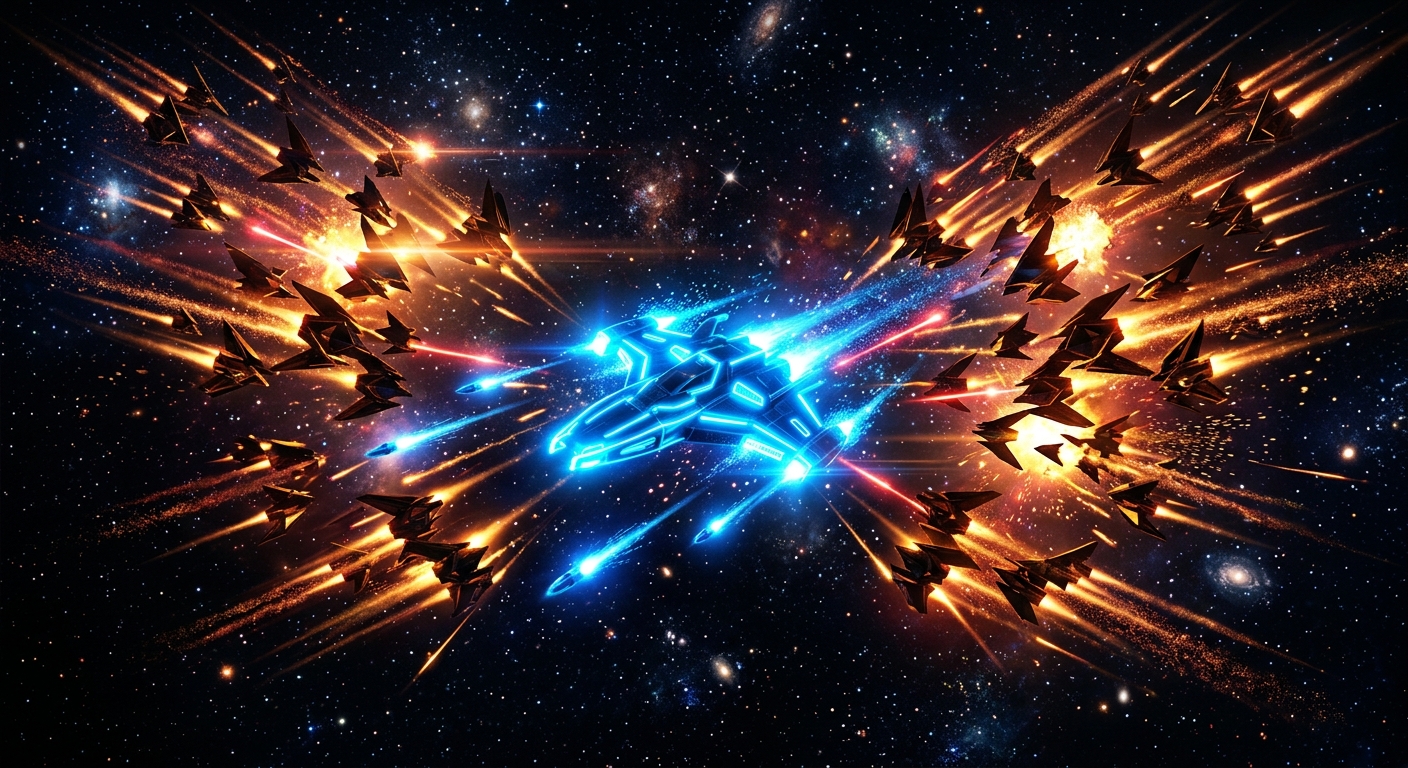
Star Dive opens without a warm-up lap. The first enemy formation is already moving before most players have finished blinking, and the game does not slow down to explain itself. The good news is that waves one through three follow repeatable patterns, and if you know what to look for, you can clear all three without losing a single life or burning a continue.
Read the Wave Before You Move
Every wave in Star Dive telegraphs its formation in the half-second before enemies become active. Most new players instinctively dart to one side the moment the screen fills up. That is the wrong call. Holding still for that brief moment gives you a mental map of what is actually coming, rather than a panicked guess.
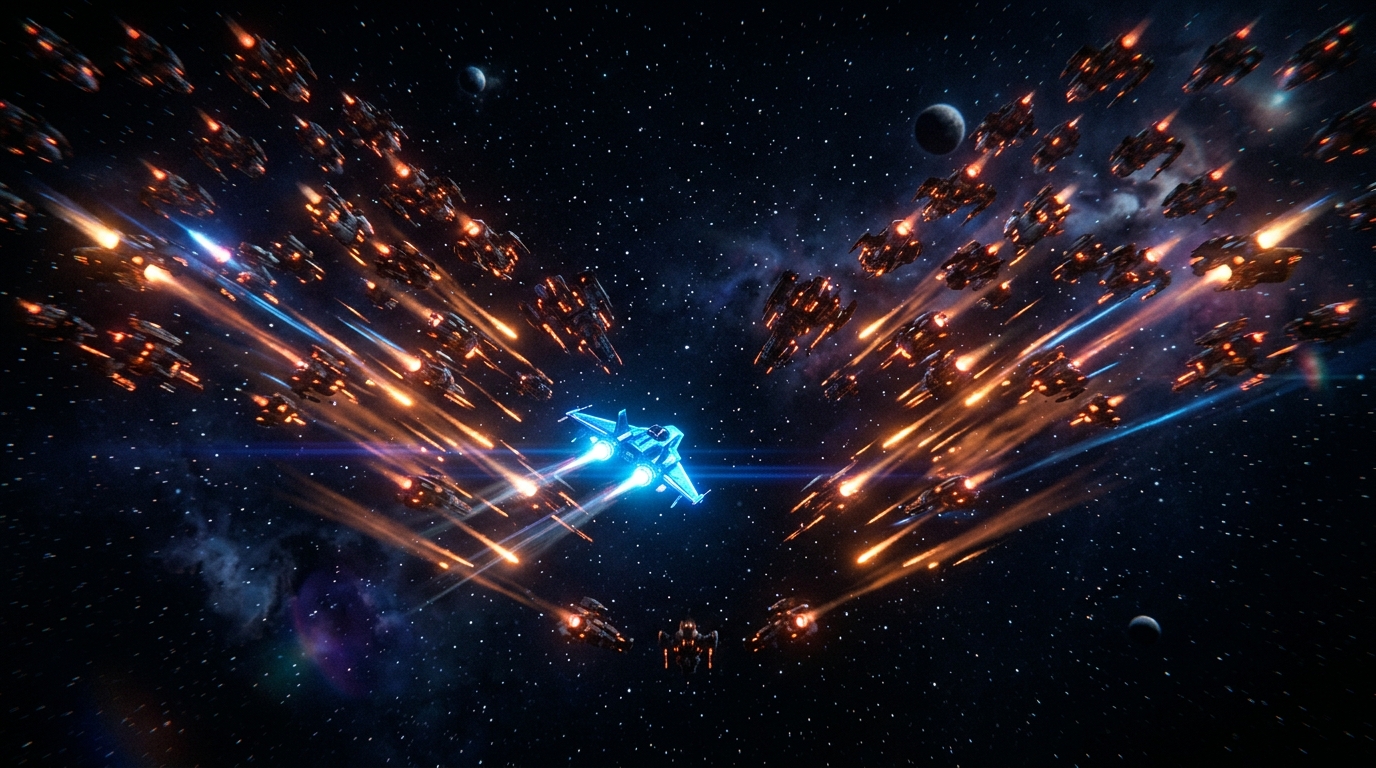
Wave one spawns a loose V-shape of low-health drones that collapse toward the center of the screen. Position yourself slightly left or right of dead center and the formation splits around you rather than converging on your hitbox. You do not need to dodge much at all if you read it correctly.
Wave two is a tighter horizontal sweep where enemies move in tandem across the full width of the screen. Trying to outrun the sweep horizontally is a losing race. Cut vertically through the gap between the two flanking columns instead, and you pass through the whole thing cleanly.
Wave three combines the V-shape logic from wave one with faster individual projectiles borrowed from the sweep design. The game is testing whether you internalized both earlier lessons at the same time. Players who did not practice patience in wave one typically get caught flat-footed here, because the mixed formation demands two different reads happening simultaneously.
Manage Your Special Meter Like a Resource, Not a Panic Button
The most common mistake in Star Dive is saving the special ability for a moment that feels truly desperate. The problem is that desperate moments in this game are usually already lost before the animation even fires. By the time you feel like you need the special, the window to use it effectively has already closed.
The optimal approach is proactive. Fire the special during wave two's horizontal sweep, just as the flanking columns begin closing in. This clears enough space to reposition before the rest of the formation arrives. It feels almost wasteful the first time you do it, because wave two does not look that threatening at first glance. Trust the discipline anyway.
The meter refills partially on every wave transition, which is the mechanical detail that makes early spending worthwhile. Spending the special intelligently on wave two means you enter wave three, the hardest early-game moment, with a partial charge already built rather than an empty bar. Think of it the way a careful driver thinks about a reserve fuel tank: it exists to prevent a specific category of failure, not to solve every problem. The discipline to use it at the right moment rather than the scariest one is what separates clean runs from one-credit loops.
Control Screen Zones, Not Individual Enemies
Chasing individual enemies is the single most common mistake across arcade shooters, and Star Dive punishes it harder than most. Its enemy AI is specifically designed to exploit the gaps created when a player over-commits to one side of the screen. You chase a straggler left, and the right flank collapses while your back is turned.
A more effective mental model is to divide the screen into three vertical columns and assign yourself ownership of the center column by default. Only dip into the left or right columns when a confirmed safe corridor opens. During wave one this approach feels almost too conservative. The payoff arrives in wave three, when the mixed formation generates pressure from both flanks simultaneously and you realize you have not trained yourself into lateral drift habits.
The same logic applies vertically. Staying in the lower third of the screen during the first three waves gives you maximum reaction time for incoming projectiles and keeps all retreat options open. Players who push upward to chase score often find themselves boxed in with no escape angle. The lower third feels passive, but it is actually the most powerful position on the board. Games like Segment Storm and GoAndZap reward the same kind of positional patience, if you want to practice the instinct outside of Star Dive.
Build Score Multipliers Without Gambling Your Life
Star Dive rewards aggressive play with score multipliers that stack when you destroy enemies in rapid succession. A lot of guides treat this as a reason to play dangerously in the early waves. The better read is the opposite: waves one through three are purpose-built for safe chain kills if you know the geometry.
The V-shape of wave one is almost perfectly arranged for a clean chain if you fire in a slight arc from one wing of the formation to the other rather than straight ahead. You collect the multiplier without moving into any danger zone. It takes a few attempts to calibrate the arc, but once you have it, wave one becomes a reliable multiplier setup rather than a survival scramble.
Wave two offers a second multiplier window if you time your shot cadence to match the column spacing. Instead of spraying continuously, throw a short burst at the denser left cluster and follow it immediately with a burst at the right cluster. The chain bonus triggers without requiring you to physically chase either group across the screen. You stay in your zone and the points come to you.
Entering wave three with a healthy multiplier already established raises your score ceiling for the entire rest of the run. More importantly, it changes how the game feels. You stop playing defensively and start playing with intention. That shift, from surviving to executing, is what Star Dive is actually asking for from the opening screen. The patterns are learnable, the meter is manageable, and the multipliers are there for the taking. You just have to be willing to hold still for half a second first.
Sources

Mara Solis is a staff writer at GoAndGame covering board games, tabletop strategy, and the culture around competitive play. She has spent years logging hours at game tables from local hobby shops to international conventions. Her writing blends practical insight with a genuine enthusiasm for the communities games create.