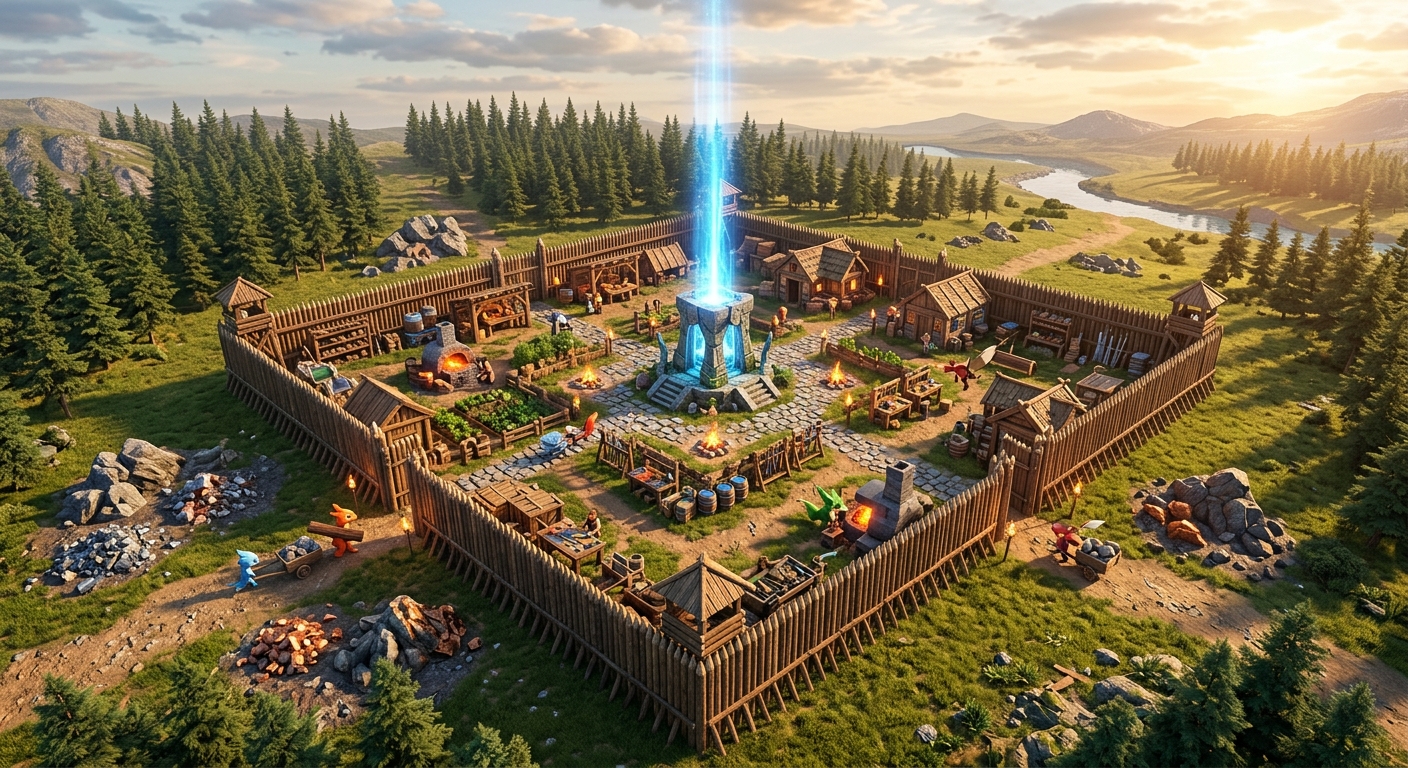
Palworld drops you into the world with a Palbox, a handful of materials, and very little explanation. New players tend to scatter their effort, building wherever looks nice, assigning Pals at random, and then losing their base to the first raid that rolls in. This guide cuts through that noise. Build smart from the start and you will not spend your third evening rebuilding everything from scratch.

Choosing Your First Base Location
Flat terrain wins every time. A level plot near stone, wood, and ore nodes keeps your supply chain short and your Pals walking in straight lines instead of fumbling over hillsides. Ore density should be your first filter when scouting locations. Water access is genuinely optional in the early hours. Focus on what your furnace and workbench need, which is ore and timber, and save hydration infrastructure for later upgrades.
Enclosed valleys feel cozy but they are a trap. When a raid spawns, enemies funnel through every gap in the terrain at once, and you cannot cover all of them. Open ground lets you see threats approaching and gives your defensive Pals clean lines of engagement. Proximity to fast travel points also matters more than most new players expect. Getting back to your base quickly after a death or a supply run is a practical advantage that compounds over dozens of sessions.
What to Build First
Before you place a single wall or crafting table, expand your base radius through the Palbox. Every structure you build depends on that footprint, and cramped layouts become painful to reorganize later. Once the radius is set, a Primitive Furnace and a Workbench go up next. Without them, you are locked out of basic tools and weapons for as long as you avoid building them, which is longer than anyone admits.
Storage boxes deserve more attention than they usually get. Place them directly adjacent to your crafting stations. If your Pals have to walk across the entire base to deposit a single piece of ore, that walking time stacks up into significant production loss by the end of a session. Beds are the other overlooked necessity. Skipping rest for your character and your Pals causes sanity and stamina to erode gradually, and the penalties are not dramatic enough to feel urgent until suddenly productivity collapses entirely.
Assigning and Managing Your Pals
Every Pal has work suitability ratings listed on their stat screen. Check those before assigning anyone to a station. A Pal with high combat rating and low crafting suitability will struggle at a workbench while also being wasted as a fighter. Kindling-type Pals, with Foxparks being the most available early option, are mandatory for smelting. Without one, you will tend the furnace manually, which defeats the purpose of having a base crew at all.
SAN, the sanity meter, is the management variable most new players ignore until it causes real problems. When a Pal's SAN drops from sustained work at a high-demand station, productivity falls and they start wandering or sleeping mid-task. Rotate them out before that threshold. One transporting Pal should always be active as well. Resource piles near collection points stall your entire chain if nothing is moving materials to storage.
Defending Against Raids
Raids trigger based on base level progression, so your first one often arrives before you feel ready. Build a wall perimeter before that point. An open base gets overwhelmed in the opening seconds of a raid, before you can physically respond. Place your combat-capable Pals near the Palbox specifically, because attackers prioritize it. Losing the Palbox mid-raid destabilizes everything else.
Wooden structures are a liability against fire-type enemies, which appear in raids earlier than feels fair. Upgrading to stone as soon as ore production allows is not optional, it is damage mitigation. Raise your base level steadily by completing work assignments. Higher base levels unlock turrets and traps that defend against raid waves even when you are offline, which is the actual goal of the entire progression system. Build toward that and the rest of the game opens up considerably.
Sources
- Best base locations in Palworld 1.0 | PC Gamer
- Palworld: Efficient Base with Advanced Tips and Strategies
- Palworld: Complete Base Building and Automation Guide | Game Truth
- Mastering Base Building in Palworld: From Starter Bases to High-End Setups – My Gaming Tutorials
- Base Building Tips and Tricks in Palworld - Palworld Guides - Out of Games
- Base Building: Upgrade from Wood to Stone :: Palworld General Discussions
- Base Building Help :: Palworld General Discussions
- Palworld - Wikipedia

Mara Solis is a staff writer at GoAndGame covering board games, tabletop strategy, and the culture around competitive play. She has spent years logging hours at game tables from local hobby shops to international conventions. Her writing blends practical insight with a genuine enthusiasm for the communities games create.