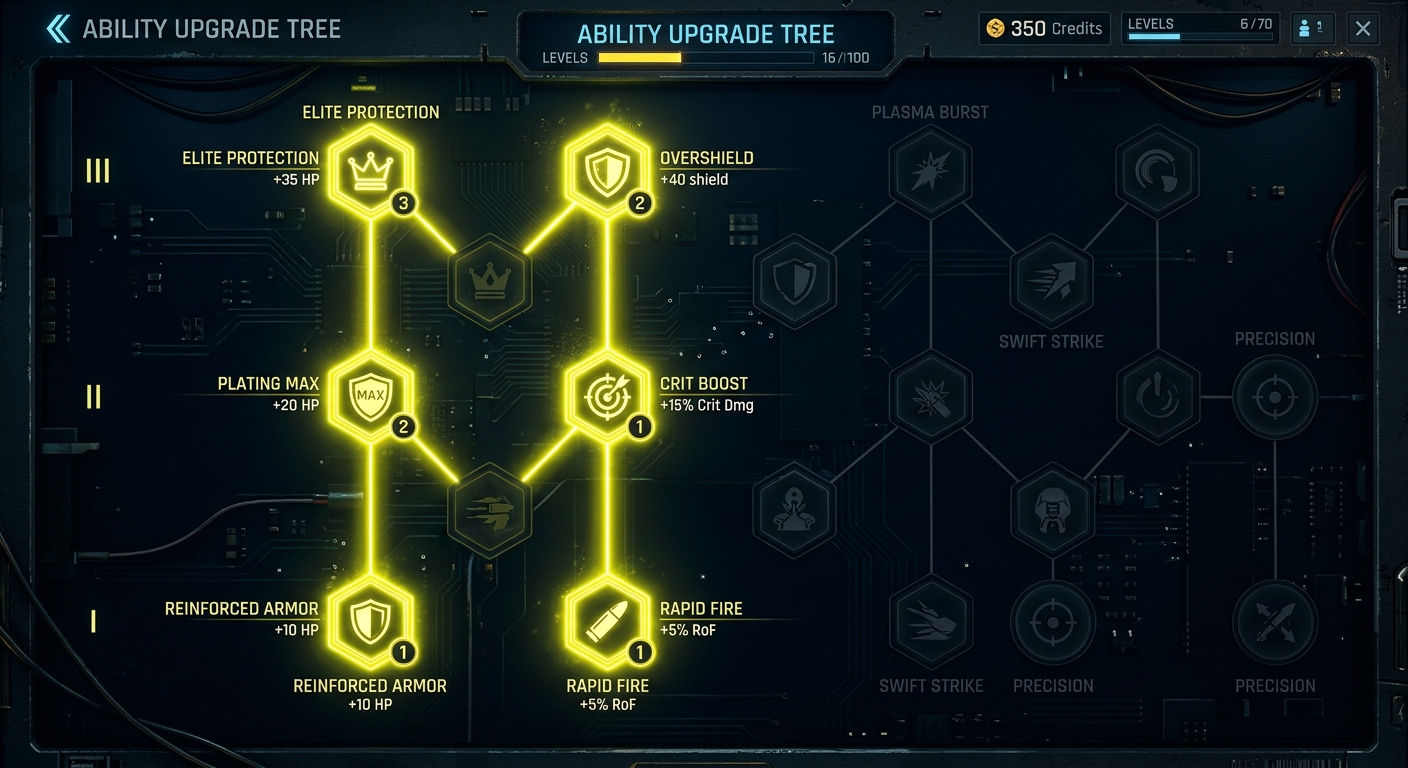
Every upgrade screen in GoAndZap looks like a menu of equally tempting options, and that visual equality is basically a trap. The game's economy is tight enough in the opening hours that a single misplaced investment can leave you two or three tiers behind where your offensive stats need to be by the time the mid-game difficulty spike arrives. Catching up from that deficit costs more resources than the original mistake did.
The upgrade tree in GoAndZap is not a buffet. It is a sequence with a handful of real branch points, and the players who clear late zones cleanly are almost always the ones who treated it that way from the first run.
Why Upgrade Order Matters More Than You Think
The temptation is to spread early resources evenly: a little into offense, a little into defense, a little into something that sounds useful. That approach leaves you chronically underpowered right around the point where enemy density jumps and your margin for error shrinks to almost nothing. GoAndZap's damage loop is the key to understanding why. Your offensive multipliers feed into your score, your score unlocks new zones, and those zones are the only reliable source of the rarer materials needed to push your build into its final form. Starve the front end of that loop and you starve everything downstream.
Think of every coin and material as an opportunity cost. Spending early resources on a late-game defensive upgrade before your offensive output is shored up is one of the most consistent mistakes new players make, and it compounds quickly. By the time you recognize the plateau, you are already several tiers behind on the stats that would help you climb out of it. The arithmetic is unforgiving: one misplaced early purchase does not just cost you that upgrade, it delays every upgrade that depends on the zone progress you are not making.
Tier One: The Non-Negotiable First Grabs
Your first upgrade slot goes to the primary zap multiplier, full stop. It scales the damage output of your standard attack and benefits every build archetype, so there is no playstyle that argues against it. Fire rate comes second. A faster zap cadence means more chances to trigger on-hit effects, which become dramatically more important once the chain-damage passives open up in the mid-tree. These two upgrades together form the foundation that everything else sits on, and skipping either of them in favor of something flashier is the single most reliable way to arrive at the mid-game underequipped.
The sleeper pick that experienced players consistently recommend is resource drop rate. It sounds modest, but upgrading it early compresses the timeline for every upgrade that follows, effectively pulling your third and fourth power-ups closer without requiring you to grind additional content. You are not buying one upgrade. You are buying a small permanent acceleration on the rest of your build, and the returns compound across every subsequent run.
Resist the shield and dodge upgrades at this stage. Survivability tools scale poorly in isolation. They are far more effective once your damage output is high enough to clear threats before they pile into unavoidable attrition damage. Buying them early is the specific pattern longtime players call defensive tunnel vision: it feels safe, but the game's damage model punishes low-offense builds by stretching encounter duration until even a solid defensive investment gets overwhelmed by sheer volume.
Mid-Game Pivots: Reading the Room
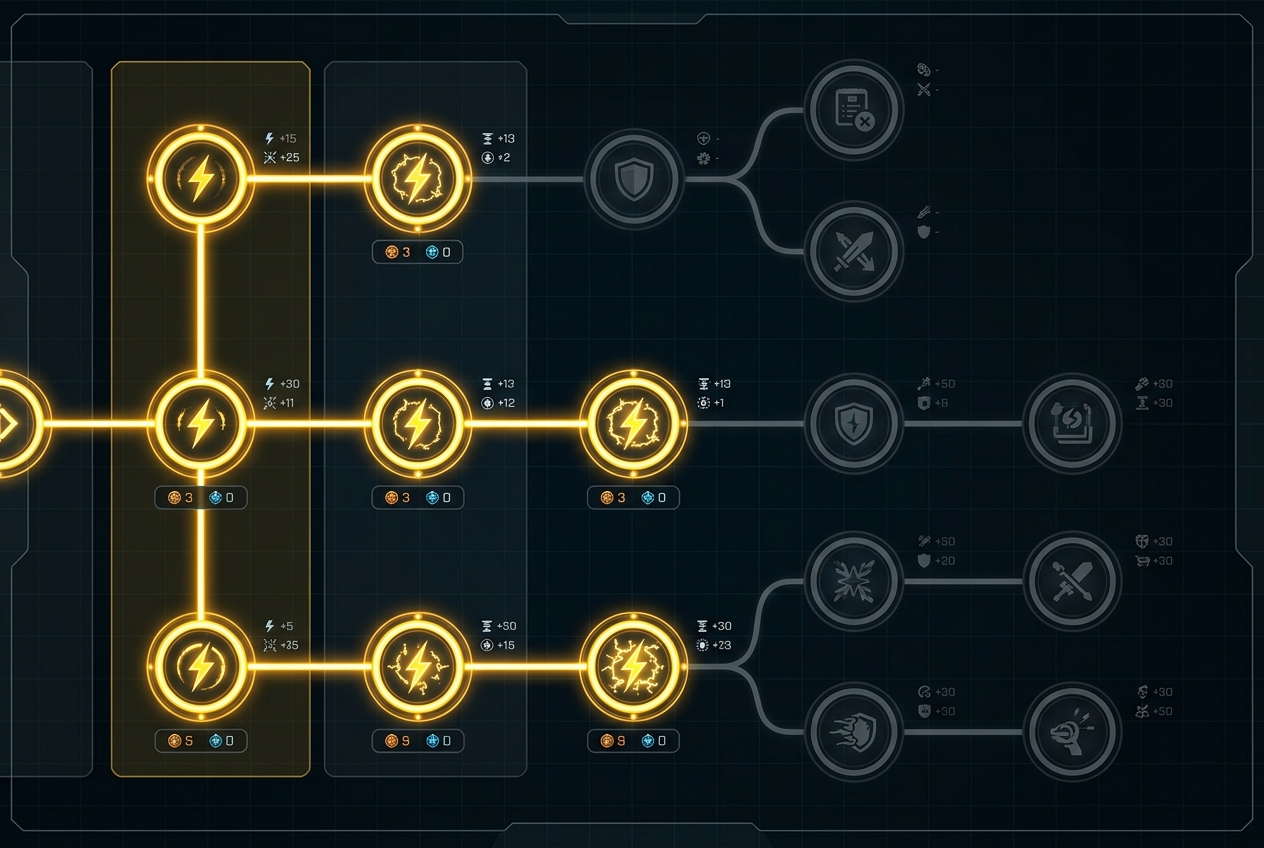
Once your zap multiplier hits its second or third tier, the tree opens into genuine choices. This is where playstyle starts to matter. Close-range aggressive players get better returns from chain-zap radius upgrades. More conservative players will find that area-denial options pay off more reliably for their approach. Neither path is wrong. The mistake is picking one without knowing which enemy configurations you are farming, because zone design should be driving that decision more than personal preference.
Power cell capacity becomes critical here. GoAndZap's longer zone runs drain reserves faster than the early stages suggest they will, and running dry mid-run against a tough enemy configuration is effectively a death sentence for that attempt. Prioritize capacity before you feel like you need it, because by the time you feel the shortage, you are already mid-run and the window to fix it is gone.
Zone design should also be influencing individual upgrade choices. Clustered enemy spawns reward splash-damage upgrades. Corridor-heavy zones reward single-target burst. If you are farming a specific zone for materials, tailor your next upgrade to that zone rather than defaulting to whatever the tree makes most available. The resource efficiency gain from that matching is real and measurable across a session.
The broader pattern here will be familiar to anyone who has spent time with score-attack titles in this genre. The logic is consistent: you sacrifice lower-tier resources to advance higher-tier upgrades, and hoarding those materials out of caution stalls your build at exactly the moments a single well-timed investment would have unlocked a new branch. Patience with the tree is not a virtue in GoAndZap. Decisive spending, timed to your current zone access, is what actually moves a build forward.
Late-Game Capping and the Final Push
By the time you are approaching endgame zones, your core offensive stats should be fully or nearly capped. Late purchases shift almost entirely toward survivability and quality-of-life improvements that extend run length rather than increase your per-hit ceiling. The regeneration passive is underrated at this stage. At full offensive build maturity, the difference between clearing a late zone and failing it often comes down to whether you can sustain through a bad ten-second window, and regen buys exactly that buffer without requiring you to make any fundamental changes to your attack setup.
Combo multiplier preservation upgrades pay big dividends late in the game. These are the power-ups that reduce the penalty for breaking your hit streak, and at late-game score thresholds, even partial preservation translates to thousands of additional points per run. The math on them is better than the tooltip suggests, and players who skip them while chasing the last few offensive tiers tend to leave significant score on the table every session.
The cosmetic and quality-of-life tier is never a priority grab, but a pass through it after your functional build is complete occasionally yields small passive bonuses that compound over long sessions in ways that are easy to miss if you never look. Think of it as a cleanup pass rather than a destination.
Course-Correcting When You Are Stuck
If progress feels impossible, the fastest diagnostic is to audit your zap multiplier against your zone progression. In most stuck-player scenarios, offensive stats are three to five tiers behind where they should be relative to the zones being attempted. That gap is the culprit the vast majority of the time, and the fix is straightforward even if it requires backtracking to farm materials at a lower zone tier. Pride about zone progression is expensive in GoAndZap. Dropping back one zone to close a stat gap costs a run or two. Grinding a zone you are underbuilt for can cost a dozen.
The material hoarding problem deserves its own mention. Players sitting on large material reserves are almost always players who stalled their own builds by saving for a hypothetical future need that never quite arrives. GoAndZap rewards investment timing over material accumulation. Spend into the next tier when you can afford it, and trust that the drop rate improvements you made early will keep the pipeline moving. The whole point of that early drop rate purchase was to make this kind of decisive spending feel comfortable, and players who made it but still hoard materials have gotten none of the benefit.
The genre has a consistent design philosophy across titles: front-load offense, let the defensive stats come later when the offensive foundation can make them meaningful. GoAndZap is a textbook example of that philosophy built into an upgrade economy. Once you see it clearly, the priority order stops feeling like a constraint and starts feeling like the actual game.
Sources

Mara Solis is a staff writer at GoAndGame covering board games, tabletop strategy, and the culture around competitive play. She has spent years logging hours at game tables from local hobby shops to international conventions. Her writing blends practical insight with a genuine enthusiasm for the communities games create.